
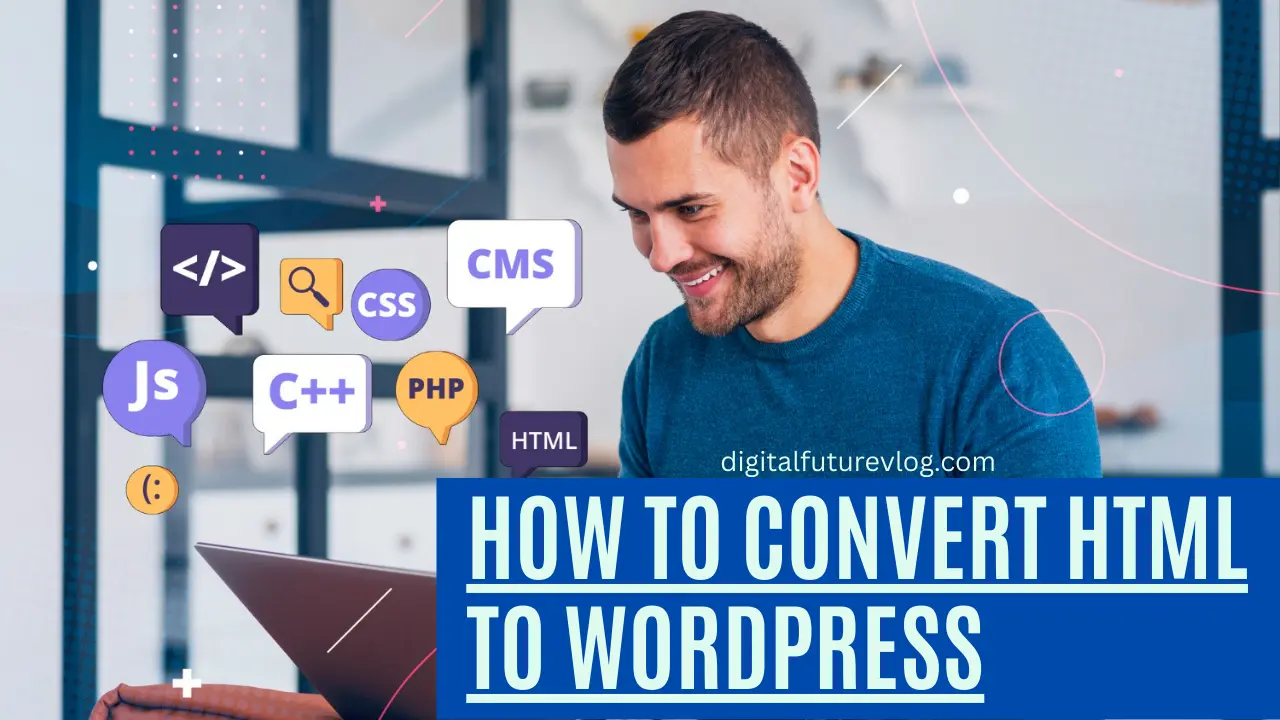
One of the best ways to take use of WordPress’s versatility and user-friendliness is to convert an HTML website to a WordPress site. Whether you want to take advantage of WordPress’s content management system (CMS), themes, plugins, or improved SEO, transitioning from HTML to WordPress can provide a better platform for managing your site. In this guide, we’ll walk you through the step-by-step process of converting an HTML site into WordPress with simple, easy-to-follow instructions.
Why Convert HTML to WordPress?
Before we dive into the steps, it’s helpful to understand why you might want to convert an HTML site into WordPress in the first place.
Easy Content Management: WordPress makes it easier to manage and update content on your site, even if you don’t have technical expertise.
Themes & Plugins: WordPress offers thousands of themes and plugins that allow you to quickly change the look of your website and add new features.
Improved SEO: WordPress is search engine optimized, which raises your website’s position in search results.
Responsive Design: WordPress themes frequently have responsive designs built in, so your website will adapt to desktop, tablet, and mobile screens automatically.
Community Support: Since WordPress is the most widely used content management system (CMS) in the world, you will have access to a large support community and a wealth of information.
Now that you know the benefits, let’s walk through the conversion process.
Step 1: Set Up WordPress
You must first have a WordPress website up and running before you can begin converting your HTML site to WordPress. Feel free to proceed to the next step if you have it configured already.
Select a Hosting Company: Pick a web host that is compatible with WordPress.
Install WordPress: The majority of hosting companies provide a simple, one-click WordPress installation option. Simply follow your hosting provider’s setup instructions to get WordPress up and running.
Purchase a Domain Name: Register a domain for your website if you have not already. This will be your WordPress website’s unique URL.
Access Your Dashboard: To access your WordPress dashboard and begin managing your website after WordPress has been installed, visit yourdomain.com/wp-admin.
Step 2: Create a New WordPress Theme
This process involves developing a unique WordPress theme that replicates the style and appearance of your current HTML website. You have the option of manually turning your HTML website into a theme or starting with an already-existing theme and making changes to it.
2.1: Create a Theme Folder
Go to the folder containing your theme: Navigate to the wp-content/themes folder within your WordPress installation.
Create a New Folder: Create a new folder for your theme. Name it something unique (e.g.,
my-html-theme).
2.2: Create the Necessary Files
For your WordPress theme to function, you’ll need to create a few key files:
style.css: This is the stylesheet that defines your theme’s appearance.
index.php: The primary file for your theme.
header.php: Contains the HTML for the top part of your website (header).
footer.php: includes the HTML for your website’s footer, which is the bottom section.
functions.php: Contains PHP functions that add additional functionality to your theme.
Here’s a basic structure for the files:
2.3: Add Your HTML Code
It is time to update your theme with your HTML content. Copy the pertinent sections of your existing website’s HTML files into the WordPress theme files.
For example:
Place the
<header>and opening<body>tag contents intoheader.php.Your HTML files’ body content, or major content, should be moved to index.php.
Place the footer content into
footer.php.
This will create a structure similar to what you had in your HTML site, but now it’s integrated into WordPress, allowing you to take advantage of WordPress functionality.
Step 3: Import Content from HTML to WordPress
Importing your HTML content (text, photos, etc.) into WordPress posts and pages comes next after configuring your WordPress theme.
3.1: Create Pages in WordPress
Go to the WordPress Dashboard: From the admin panel, navigate to Pages > Add New.
Include Your HTML Content Here: Copy the content into the WordPress page editor after opening the HTML files you wish to import.
Publish the Page: Once you’re happy with how it looks, click the Publish button.
3.2: Add Posts (If Needed)
You should also transfer any blog entries or dynamic content from your HTML website to WordPress.
Go to Posts > Add New.
Copy your HTML content into the editor and publish the posts.
3.3: Images and Media
If your HTML site contained images or other media, you’ll need to upload them to WordPress:
Go to Media > Add New.
After choosing your photos, add them to the WordPress media library.
Connect the pictures to the relevant sections of your pages and articles.
Step 4: Install Plugins and Widgets
WordPress offers many plugins that can enhance your site’s functionality. You may want to install the following required plugins:
Yoast SEO is an effective SEO plugin that can raise your website’s search engine ranks.
Contact Form 7: A plugin for your website that lets you make contact forms.
Jetpack: A plugin that provides capabilities for site management, security, and performance.
To install plugins:
Go to Plugins > Add New.
Search the plugin.
Click Install Now, then Activate.
Step 5: Set Up Menus and Widgets
WordPress makes it simple to put up widgets and navigation menus for your website.
5.1: Set Up Navigation Menus
Go to Appearance > Menus.
Create a new menu and add pages, categories, and custom links to it.
Assign the menu to a theme location (such as the primary navigation bar).
5.2: Add Widgets
Go to Appearance > Widgets.
Add widgets to areas like the sidebar, footer, or header, depending on your theme’s layout.
Step 6: Test Your Site
Before launching your new WordPress site, it’s essential to test everything to ensure everything works as expected.
Check for Broken Links: To find any broken links on your website, use a program such as Screaming Frog.
Test Responsiveness: Make sure your website looks good on mobile devices and tablets.
Test Forms: If you added contact forms, test them to ensure they’re functioning correctly.
Step 7: Launch Your WordPress Site
You are prepared to launch after you have tested everything and converted your HTML website to WordPress. It is time to move your WordPress website to your live server if you were working on a local server.
To move your WordPress site:
Backup Your Site: Make a backup of your website by using a plugin such as UpdraftPlus.
Migrate Your Site: Use a migration plugin (such as Duplicator) to move your site from your local server to your live hosting.